
Most homeowners who call us about a custom shower door want to know one thing first — roughly what it will cost. A good homeowner pre-measure lets us answer that question without a site visit, and tells us what kind of door is going to fit. This guide walks you through the same dimensions a glazier records on a measure sheet, with the caveat that for any frameless shower enclosure we still come out with a laser level before we cut glass.
If you have not picked a style yet, start with the complete guide to custom shower doors first — the style decision drives which dimensions matter most.
What tools do I need to measure?
You do not need much. A standard homeowner toolkit handles every pre-measurement:
- A 25-foot tape measure. A locking tape is much easier than a flexible one for single-person measuring.
- A 4-foot level. Or a long phone-app level (most modern phones have one built into the compass app).
- A pencil and notepad. Or the notes app on your phone — but write down every measurement immediately so you do not forget which dimension is which.
- A small carpenter's square or speed square. Useful for checking whether the corners are actually 90 degrees, especially for a corner or neo-angle shower.
- Your phone camera. Take 8 to 12 photos — wide shots of the whole opening, close-ups of the curb, the hinge wall, and any tile transitions or shelves.
That is it. A laser level is nice but not required — you will get a usable pre-measure with a 4-foot bubble level.
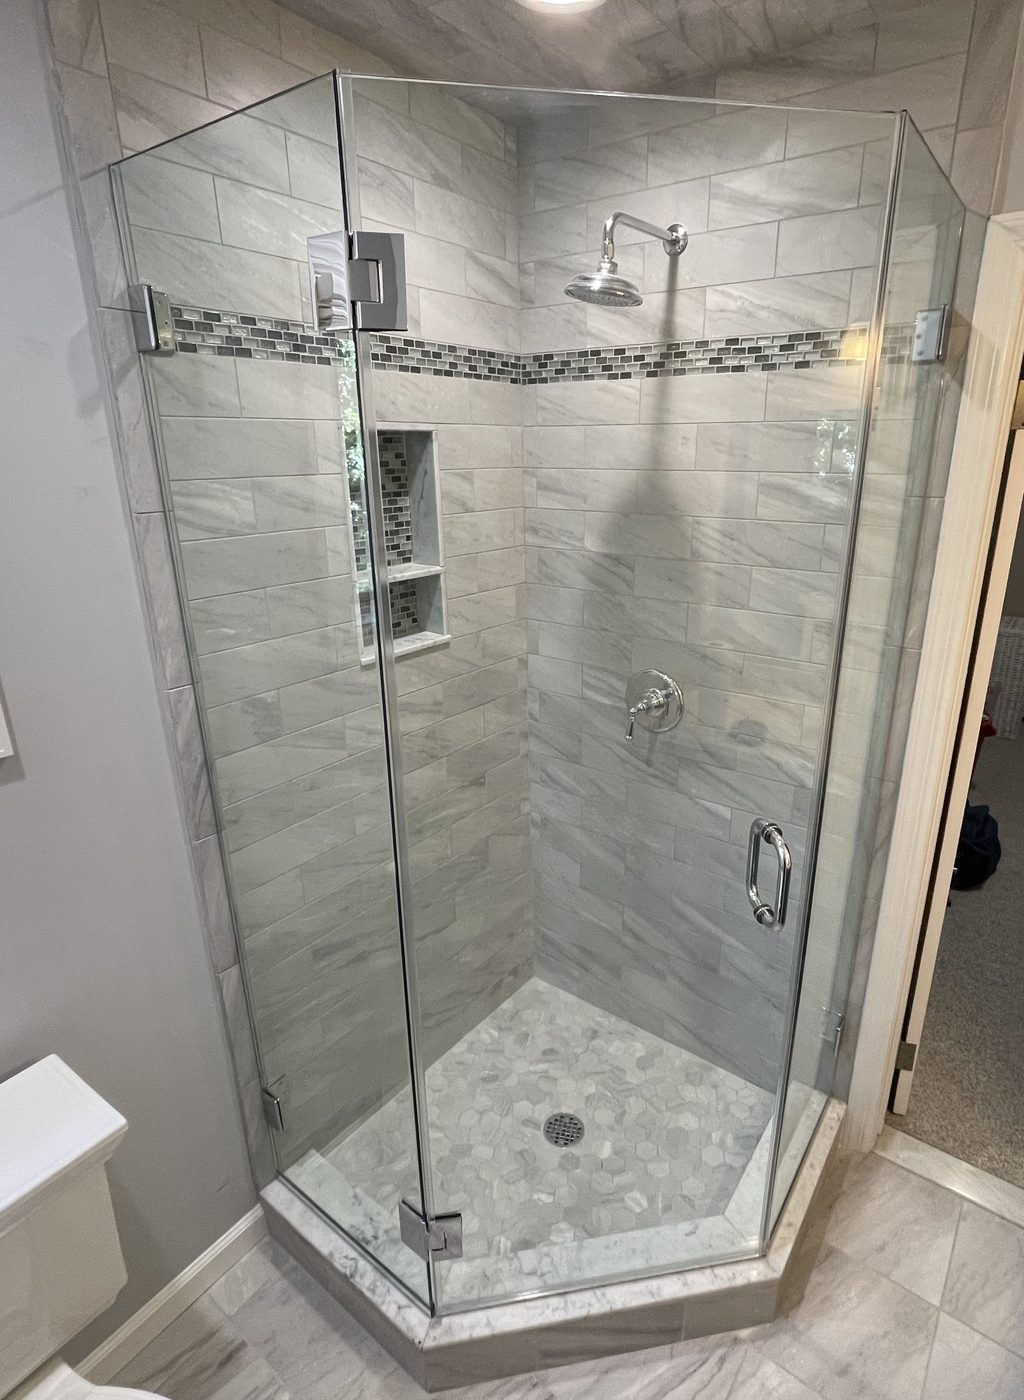
The five measurements every shower door needs
1. Width — measured at three heights
Stand inside the shower facing out. Measure the opening width from one wall to the other at three different heights: at the curb (top of the threshold), at the middle of the door height (typically 36 inches up), and at the top where the door header or the cut line will be (typically 78 to 84 inches up).
Write down all three numbers. In an older Bergen County home, you might see something like 36-1/4", 36-1/8", 36-3/8". That is normal. The walls are rarely perfectly parallel. The smallest of the three is the number that matters most for the glass — the door has to clear the narrowest point.
2. Height — measured at three points across
Measure from the top of the threshold or curb (not the bathroom floor) up to where you want the top of the glass. Take the measurement at the left edge, the middle, and the right edge of the opening.
Typical custom shower glass runs 72 to 84 inches tall. Standard residential doors are usually 76 to 78 inches; a taller "ceiling-height" frameless installation can run 84 inches or higher. The height does not have to land on a standard number — the glass is cut to fit.
3. Threshold thickness and slope
The curb (or "threshold") at the bottom of the opening matters more than people expect. Measure the width across the top of the curb — this is where the door panel lands and where the sweep seals. A tile curb is typically 4 to 6 inches wide. A solid surface curb might be 3 inches.
Then check the curb for slope. Place the level across the curb in three positions along its length. Most curbs slope very slightly toward the drain (intentional, to shed water). A slope of 1/8 inch or less is normal and is handled by the door sweep. More than 1/8 inch may need a beveled threshold strip or a custom-cut sweep.
4. Plumb check on each wall
This is the measurement most homeowners skip — and it is the one that drives whether a heavy frameless door is even feasible without remediation.
Place the 4-foot level vertically against each wall that the glass will attach to. Read the bubble. If the level reads plumb, write "plumb" next to that wall. If it is out of plumb, measure how much: hold the level vertical so the bubble centers, and measure the gap between the bottom of the level and the wall.
A gap of 1/4 inch or less over a 4-foot level is workable — hardware shims and gaskets absorb that much variation. Larger gaps are not a deal-breaker but will affect door style and hardware. Walls that are out of plumb by more than 1/2 inch over the door height usually need either a U-channel mount or a semi-frameless approach.
5. Hinge-side wall material
For any hinged frameless door, the door's weight is carried by the hinges, and the hinges are bolted into the wall. Take a picture of the hinge-side wall and note the material — is it tile over cement board, tile over green-board, a solid surface, or a glass-to-glass connection (the door hinges off another panel)? This affects which mounting hardware we bring on the install day.
How do I measure a corner or neo-angle shower?
Corner and neo-angle showers need more measurements than a single-opening door.
For a corner shower enclosure, measure each wall's length from the corner outward. Take the full wall length along the curb, the opening width on the side that has the door, and the height at the corner plus at the outside edge of each wall. Check the angle between the two walls with your square — it should read 90 degrees, but in older homes you sometimes see 89 or 91 degrees, which matters for fabrication.
For a neo-angle shower enclosure, measure all three panel widths, the angle between each pair of panels, and the height at each of the four corners. A photo from above (standing on the curb, phone pointed straight down) is enormously helpful for showing us how the panels meet.
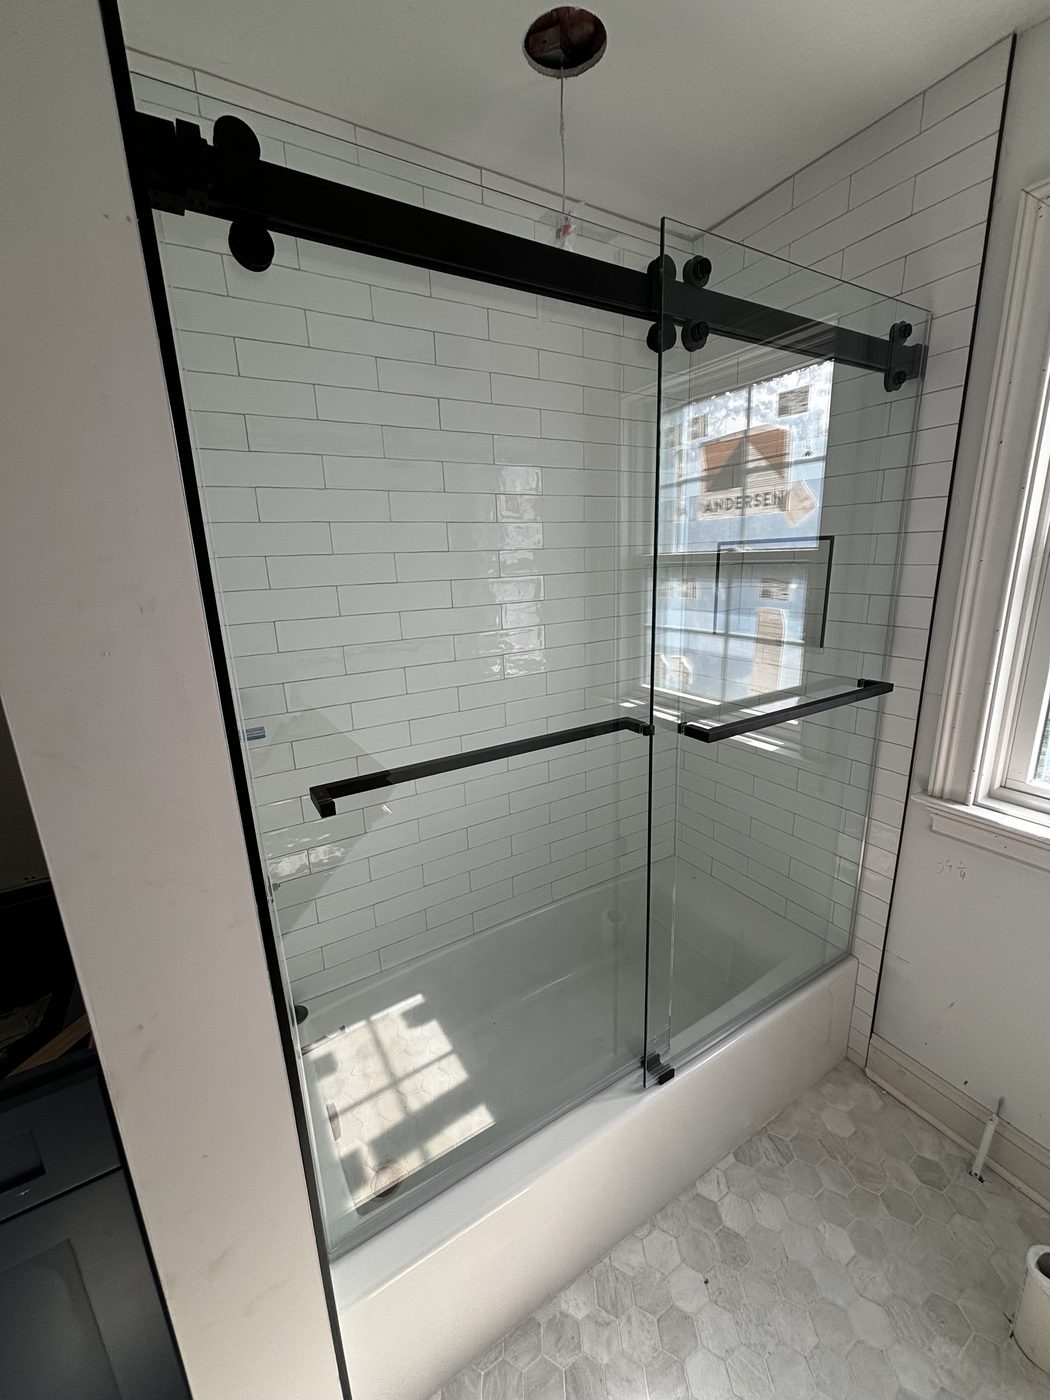
Recording your measurements — a simple template
Write your measurements in a structured format so nothing gets lost in translation when you send them to us. A simple template:
| Measurement | Your number | Notes |
|---|---|---|
| Width at top | ______ inches | Top of opening |
| Width at middle | ______ inches | ~36" up |
| Width at curb | ______ inches | At the threshold |
| Height — left | ______ inches | From curb up |
| Height — middle | ______ inches | From curb up |
| Height — right | ______ inches | From curb up |
| Curb width (top) | ______ inches | Tile/solid surface |
| Curb slope check | level / slopes ______" | Toward drain? |
| Plumb — left wall | plumb / out ______" | Over 4-foot level |
| Plumb — right wall | plumb / out ______" | Over 4-foot level |
Take photos of the level on each wall and curb so we can see the gap with our own eyes — it tells us as much as the numeric measurement.
Tip: Always record dimensions in inches and fractions of an inch (e.g. 36-1/8"), not in feet and inches. Decimal inches (36.125") work too. Mixing units is the most common source of measurement errors.
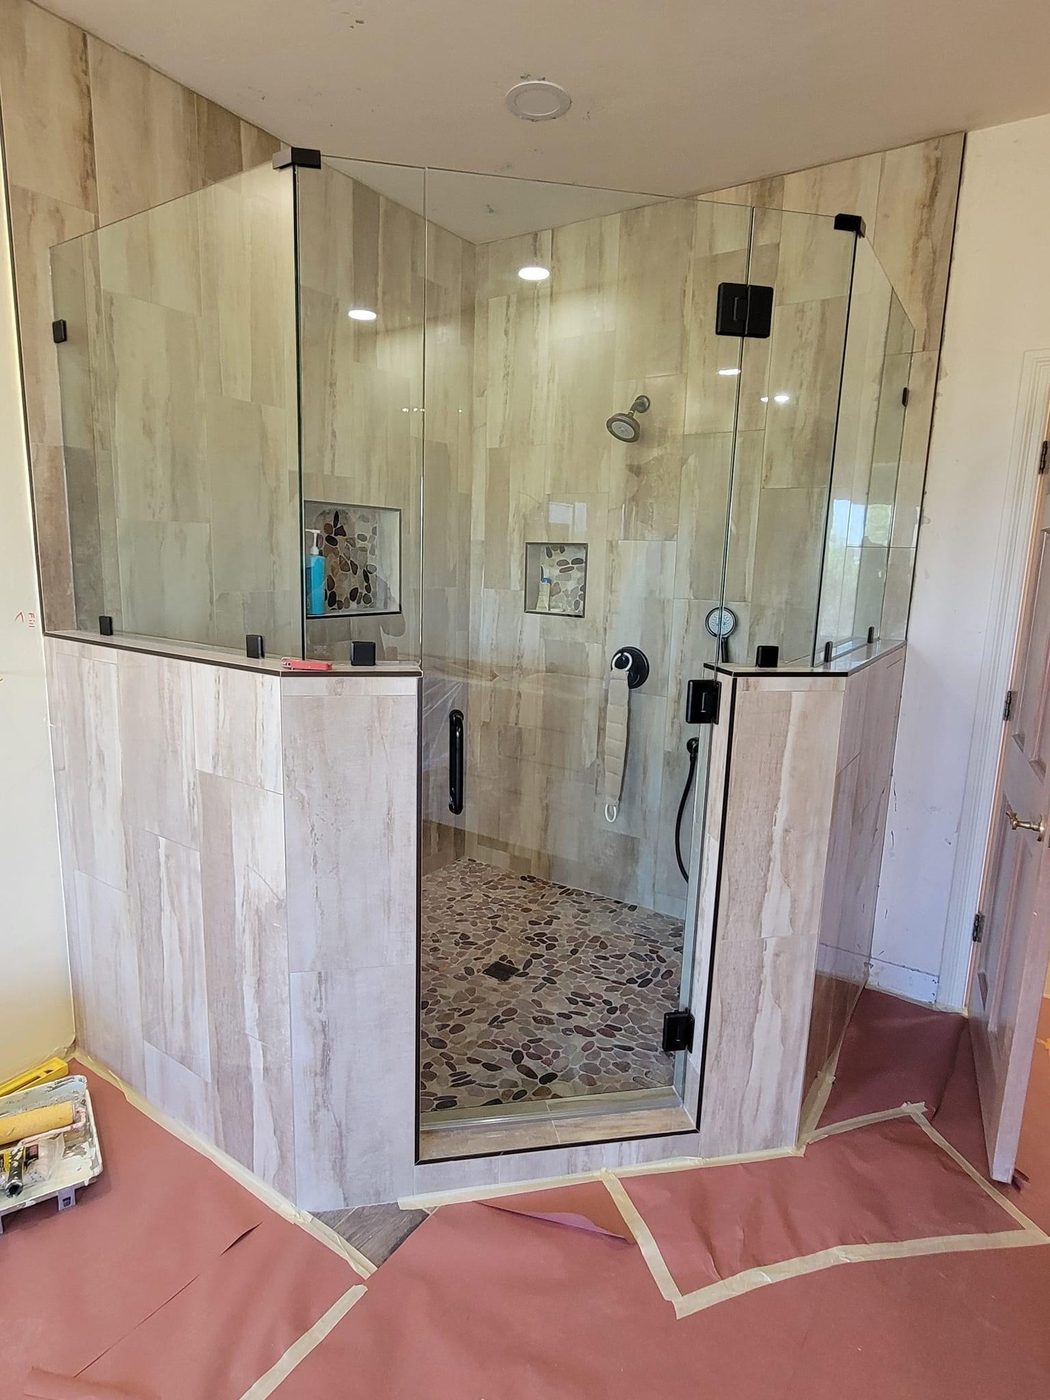
Why we still come out to field-measure
Your pre-measure is gold for the quote conversation — it tells us the door style is feasible, what the rough cost will be, and what hardware we should bring along. But before any tempered glass goes through the cutting and tempering process, we send a fabricator out to your home with a laser level and a written measure sheet.
Three reasons we insist on this for every custom shower door:
Tempered glass cannot be cut after the fact. Once a panel is heat-tempered, the dimensions are locked. A 1/8 inch error becomes a re-fabrication and a 2 to 3 week delay. A laser-leveled professional measurement removes that risk entirely.
Hardware selection happens on-site. Different walls, different tile, different curb materials all take different hardware. A glass-on-glass hinge is different from a wall-to-glass hinge, and a U-channel is different from clips. We see the actual conditions and bring the right parts to the install.
Out-of-plumb and out-of-level conditions need a real solution. If a wall is 3/8 inch out of plumb, we have to decide on-site whether to shim, use a different hinge mount, or recommend a small tile correction before install. That decision happens during the field measure, not from a photo.
The field measure is free as part of the quote process — schedule it after you have a price you are comfortable with, and the measure visit gives you a written, firm number along with the door style locked in.
Ready for a free in-home measure?
Send us your homeowner pre-measure and we will come out with a laser level for a written, firm quote. Most measure visits are scheduled within 3 to 5 business days.
Get a Free In-Home MeasureCommon pre-measurement mistakes
Three mistakes we see on roughly half of homeowner pre-measures:
Measuring only one width and one height. Older NJ bathrooms are almost never perfectly square. Always take three of each.
Measuring from the bathroom floor instead of the top of the curb. The door sits on the curb, not the floor. A 1-inch difference there changes the glass spec.
Not checking plumb. The walls being out of plumb is the single most consequential field condition, and you cannot see it by eye. A quick check with a level takes 30 seconds per wall.
If you record those carefully, we can give you an accurate same-day quote — and the field measure becomes a confirmation visit rather than a starting point.